[原]如何使用CSS3实现一个3D商品标签
iefreer发表于 2016-05-15 13:02:26
使用3D缎带形状的标签是常见的一个设计模式,用在商品折扣、文章标题或网站推荐信息上,
来突出显示重点内容,吸引用户视觉焦点。实现的方法有2种,一种是使用背景图片,一种是使用三角形的CSS3伪元素。
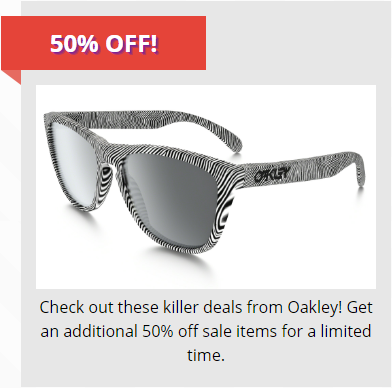
本文介绍第2种方法,使用一个最简化的实例来讲解如何实现这个效果:

上面的界面是一张简化的商品卡片,包含标签和商品描述,我们使用h2元素来容纳标签,HTML代码如下:
<div class="fancy">
  <h2>
    <span class="ribbon-center">50% OFF!</span>
  </h2>
  <p>
    <img src="/uploads/160501/glass.jpg">
    Check out these killer deals from Oakley!
    Get an additional 50% off sale items for a limited time.
  </p>
</div>
接下来给卡片和商品描述添加样式,来限定高宽和间距:
.fancy {
    width: 340px;
    margin: 20px auto 20px auto;
    background: #E7E7E7;
    padding: 15px;
}
.fancy p {
    padding-top: 10px;
    margin: 5px 0;
    line-height: 1.5;
}
.fancy img {
    width: 340px
} 
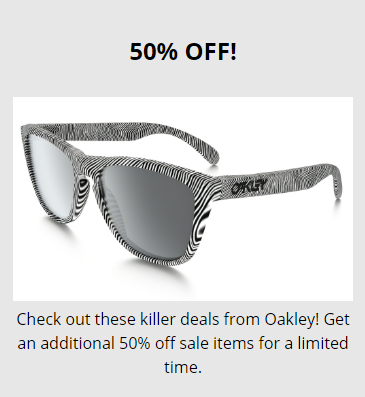
现在页面看起来像上面这样,接下来就是要给标签(h2元素)添加样式,一个是背景色,一个是左边的3D折纸效果。
折边效果其实就是给h2的左下角拼接一个三角形的元素,我们使用伪元素来实现,代码如下:
.fancy h2 {
    font-style: italyc;
    line-height: 1;
    padding: 5px 0;
    color: #FFF;
    margin: 0;
    width: 205px;
    left: -35px;// 相对卡片向左偏移35px
    background-color: #e54439;
    position: relative;
    z-index: 6;
}
.fancy h2:after {// 定义一个斜三角形
    content: "";
    width: 0;
    height: 0;
    position: absolute;
    font-size: 0;
    line-height: 0;
    z-index: 5;
    border-top: 0 solid transparent;
    border-bottom: 15px solid transparent;
    bottom: -15px;
}
.fancy h2:after {
    border-right: 20px solid rgb(230, 107, 97);
    left: 0;
}
.fancy h2 .ribbon-center {
    display: block;
    padding: 10px 0;
    background-color: #e54439;
}
其中h2的left属性为-35px,这使得h2相对卡片向左偏移35px,这样就看起来像是包装在卡片外面。
h2:after伪元素是一个常用的三角形定义(宽高为0的元素加上border调整可以实现各种三角形形状),这样就可以了。