Use dynamic DNS to create web server on your synology NAS
1 Introduction
If you’re looking to host a website or create a web server at home, a network-attached storage (NAS) device like Synology can be a great option. However, one challenge that you may face is that your home internet connection may not have a static IP address, which makes it difficult to access your server from the internet.
This is where Dynamic DNS (DDNS) comes in. DDNS is a service that allows you to assign a domain name to your home IP address, even if it changes frequently. In this blog post, we’ll show you how to use DDNS to create a web server on your Synology NAS.
You can use the free dynamic DNS service in some domain register, the below sample will use namecheap.com for create a free DDNS:
2 Create Dynamic DNS
Login the namecheap.com for manage your domain, you can create a dynamic DNS record as below:

and then you will find your dynamic DNS password

3 Create a schedule in Synology
We need to auto update the domain IP, so we can create a schedule in synology, and execute the below command, it will update your home’s IP to DDNS server
/bin/wget -p 'https://dynamicdns.park-your-domain.com/update?host=test&domain=coderblog.in&password=your dynamic dns password'

4 Create a website
After that, you can create a website (virtual host) through web station
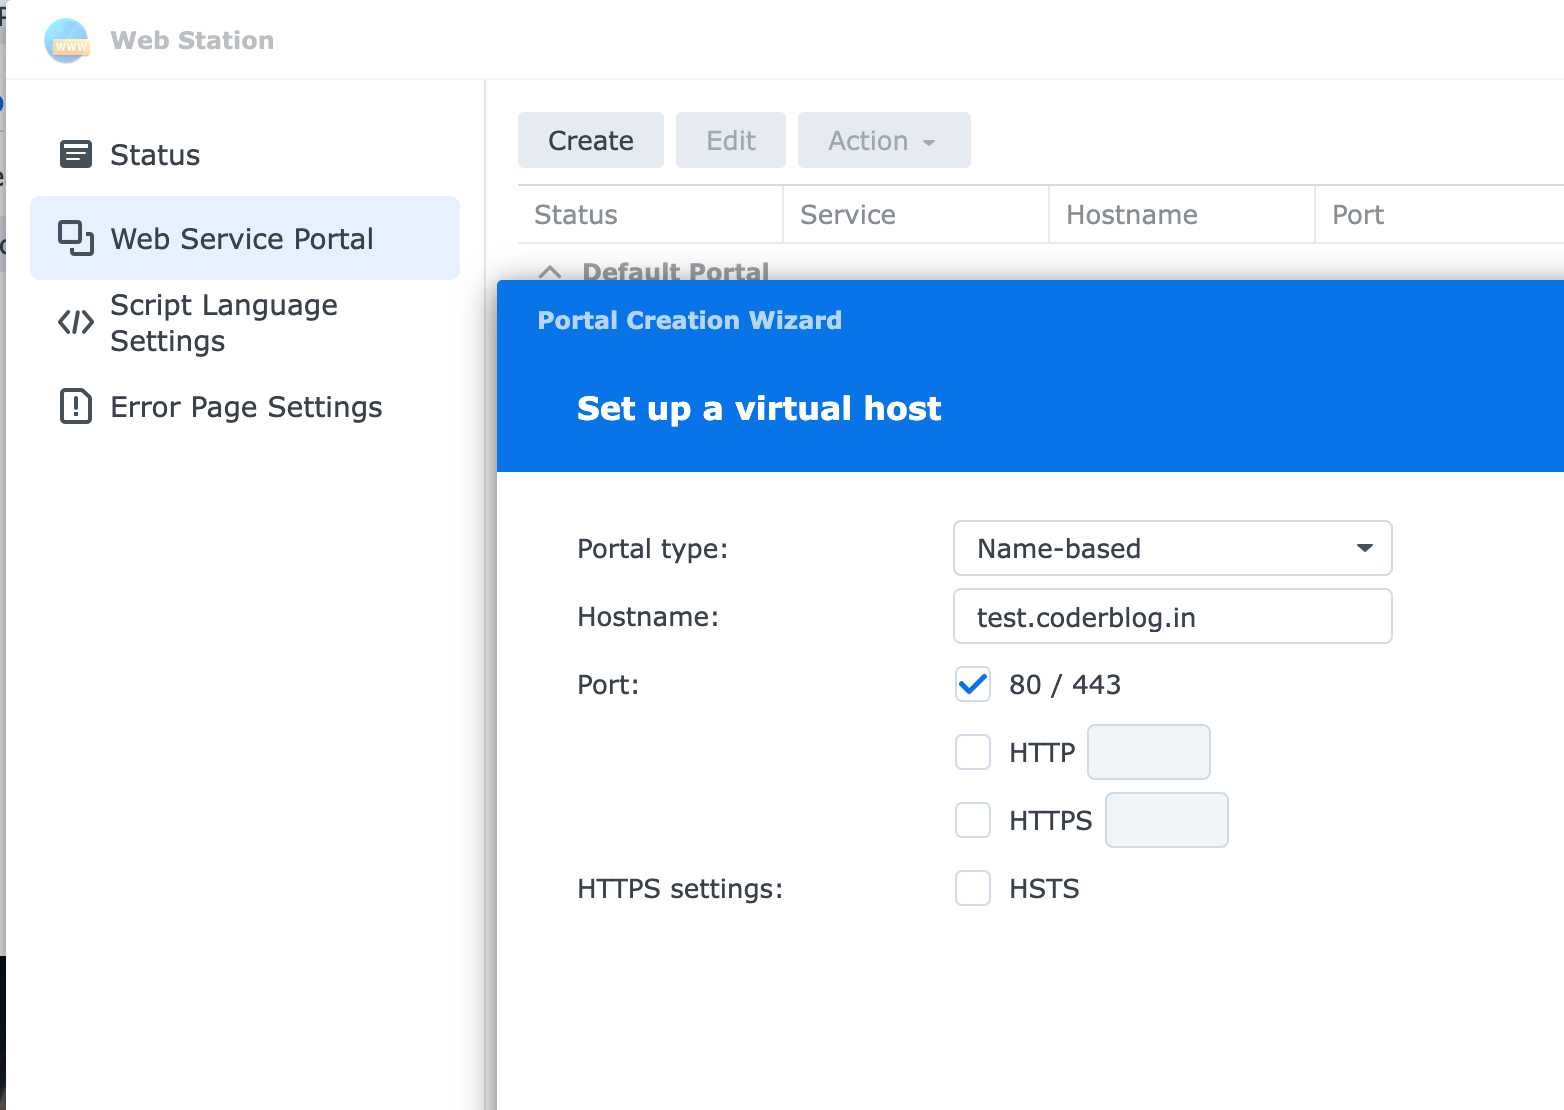
setup your websit folder

At the last, don’t forget to allow the public port (80 in this case) to be access from your router’s firewall setting!
That’s ok, you can access your website now :bowtie:
![]()
The post Use dynamic DNS to create web server on your synology NAS first appeared on Coder Blog.