体验 Stable Diffusion 模型(v2、SDXL 1.0、Refiner 1.0)生成图像
Stable Diffusion 是 2022 年发布的深度学习文本到图像生成模型,是主要用于“文本生成图像”的深度学习模型,也就是常说的 txt2img 的应用场景中:通过给定文本提示词(text prompt),该模型会输出一张匹配提示词的图片。Stable Diffusion 模型能够根据文本的描述生成图像,另外它也可以应用于其他任务,如内补绘制、外补绘制,以及在提示词指导下生成图像。
Stable Diffusion 是基于“潜在扩散模型”(Latent Diffusion Model,LDM)的模型,Diffusion 是扩散的意思,通常我们简称 Stable Diffusion 模型为 SD 模型。SD 模型是开源的,我们可以在 Github 上找到它的源码和使用方法:https://github.com/Stability-AI/StableDiffusion,也可以在 Huggingface 网站上获取到相关资源:https://huggingface.co/stabilityai。
实验环境
我们实验的基础环境的基本配置,作为参考,如下所示:
- CentOS 7.6 64
- Anaconda3-2023.07-1-Linux-x86_64
- Python 3.11.3
- GPU Tesla P40(显存24 G/1 core)
- CPU 6 vCore/56G
我们使用的 Anaconda,需要安装对应的 Python 模块:
pip install diffusers transformers accelerate scipy safetensors
克隆下载 Stable Diffusion 的源码:
git clone https://github.com/Stability-AI/stablediffusion.git
使用 Stable Diffusion v2 模型生成图像
下面,我们直接使用 Stable Diffusion v2 的预训练模型,根据 prompt 生成图片,代码如下所示:
from diffusers import StableDiffusionPipeline, EulerDiscreteScheduler
import torch

model_id = "stabilityai/stable-diffusion-2"

# Use the Euler scheduler here instead
scheduler = EulerDiscreteScheduler.from_pretrained(model_id, subfolder="scheduler")
pipe = StableDiffusionPipeline.from_pretrained(model_id, scheduler=scheduler, torch_dtype=torch.float16)
pipe = pipe.to("cuda")

prompt = "a photo of an astronaut riding a horse on mars"
image = pipe(prompt).images[0]

image.save("astronaut_rides_horse.png")
这个过程会下载 Stable Diffusion v2 模型,根据实际的网络情况花费时间可能不同,最后我们就生成了图片 astronaut_rides_horse.png。如果下载模型过程中因为网络断开或不稳定失败,可以再重新执行对应的代码行即可,可能需要多次才能下载成功。
使用 SDXL 1.0 模型生成图像
需要安装/升级 diffusers 模块,以及安装一些其他的模块:
pip install diffusers --upgrade
pip install invisible_watermark transformers accelerate safetensors
下面直接使用 SDXL 1.0 base 模型生成图像,代码如下所示:
from diffusers import DiffusionPipeline
import torch

pipe = DiffusionPipeline.from_pretrained("stabilityai/stable-diffusion-xl-base-1.0", torch_dtype=torch.float16, use_safetensors=True, variant="fp16")
pipe.to("cuda")

prompt = "An astronaut riding a green horse"
images = pipe(prompt=prompt).images[0]
image.save("astronaut_rides_horse.png")
使用 SDXL 1.0 Refiner 1.0 模型生成图像
Stability AI 创新性地使用了一个基础模型(Base Model)附加一个精化模型(Refiner Model)的方式,可以通过使用精化模型去除基础模型中产生的噪声,微调相关的参数,使最终生成的图像质量有所提高。
使用这种方式生成模型和图像的过程,引用 Stability AI 官网的图片,如下图所示:

具体实现代码如下所示:
from diffusers import DiffusionPipeline
import torch
base = DiffusionPipeline.from_pretrained(
"stabilityai/stable-diffusion-xl-base-1.0", torch_dtype=torch.float16, variant="fp16", use_safetensors=True
)
base.to("cuda")
refiner = DiffusionPipeline.from_pretrained(
"stabilityai/stable-diffusion-xl-refiner-1.0",
text_encoder_2=base.text_encoder_2,
vae=base.vae,
torch_dtype=torch.float16,
use_safetensors=True,
variant="fp16",
)
refiner.to("cuda")
n_steps = 100
high_noise_frac = 0.90
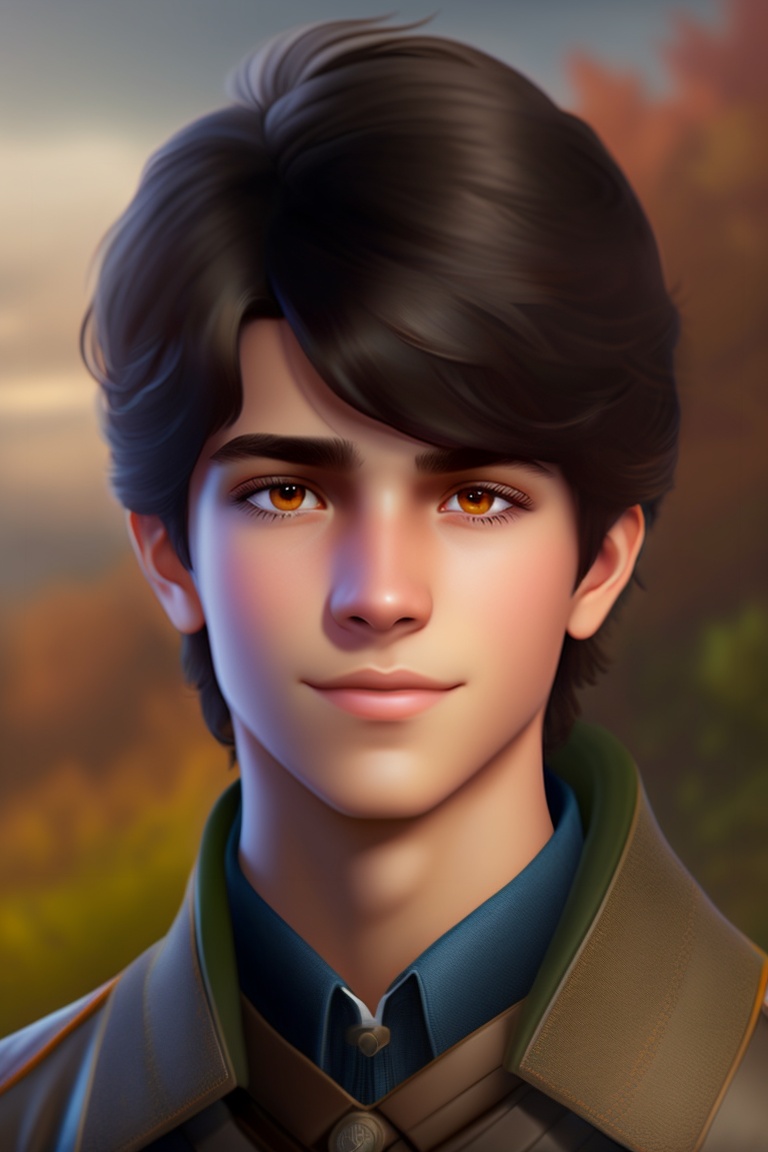
prompt = "A handsome teenage boy with black hair and large, jaded brown eyes"
image = base(
prompt=prompt,
num_inference_steps=n_steps,
denoising_end=high_noise_frac,
output_type="latent",
).images
image = refiner(
prompt=prompt,
num_inference_steps=n_steps,
denoising_start=high_noise_frac,
image=image,
).images[0]
image.save("SDXL1.0_Refiner1.0_boy.png")
不同模型生成图像效果对比
上面我们使用了 SD v2 和 SDXL 1.0 模型,以及基于 SDXL 1.0 精化的 Refiner 1.0 模型生成了图像,这里我们再拿另一个 Lexica Aperture 模型,可以在 https://lexica.art/ 上看到该模型生成的图像,对比一下根据不同的提示词生成的图像的效果,如下表所示:
| 提示词 | Hip hop pikachu | maximalist chaotic Lombard Street San Francisco, birds eye view, illustrated by Hergé, style of tin tin comics, pen and ink pixel art | A handsome teenage boy with black hair and large, jaded brown eyes |
| SD v2 模型 | 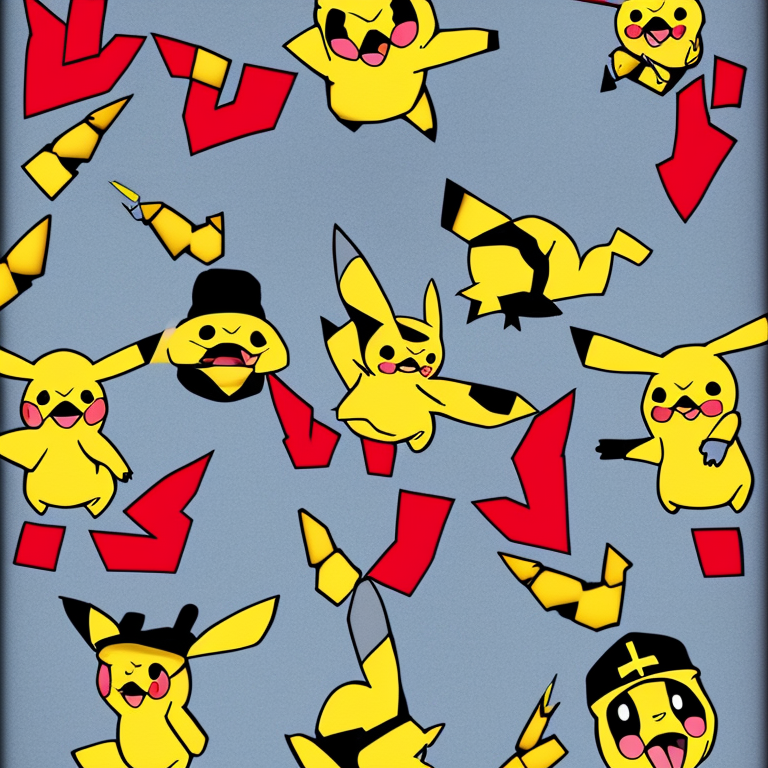 |
 |
 |
| SDXL 1.0 模型 |  |
 |
 |
| SDXL 1.0 Refiner 1.0 模型 |  |
 |
 |
| Lexica Aperture 模型 | 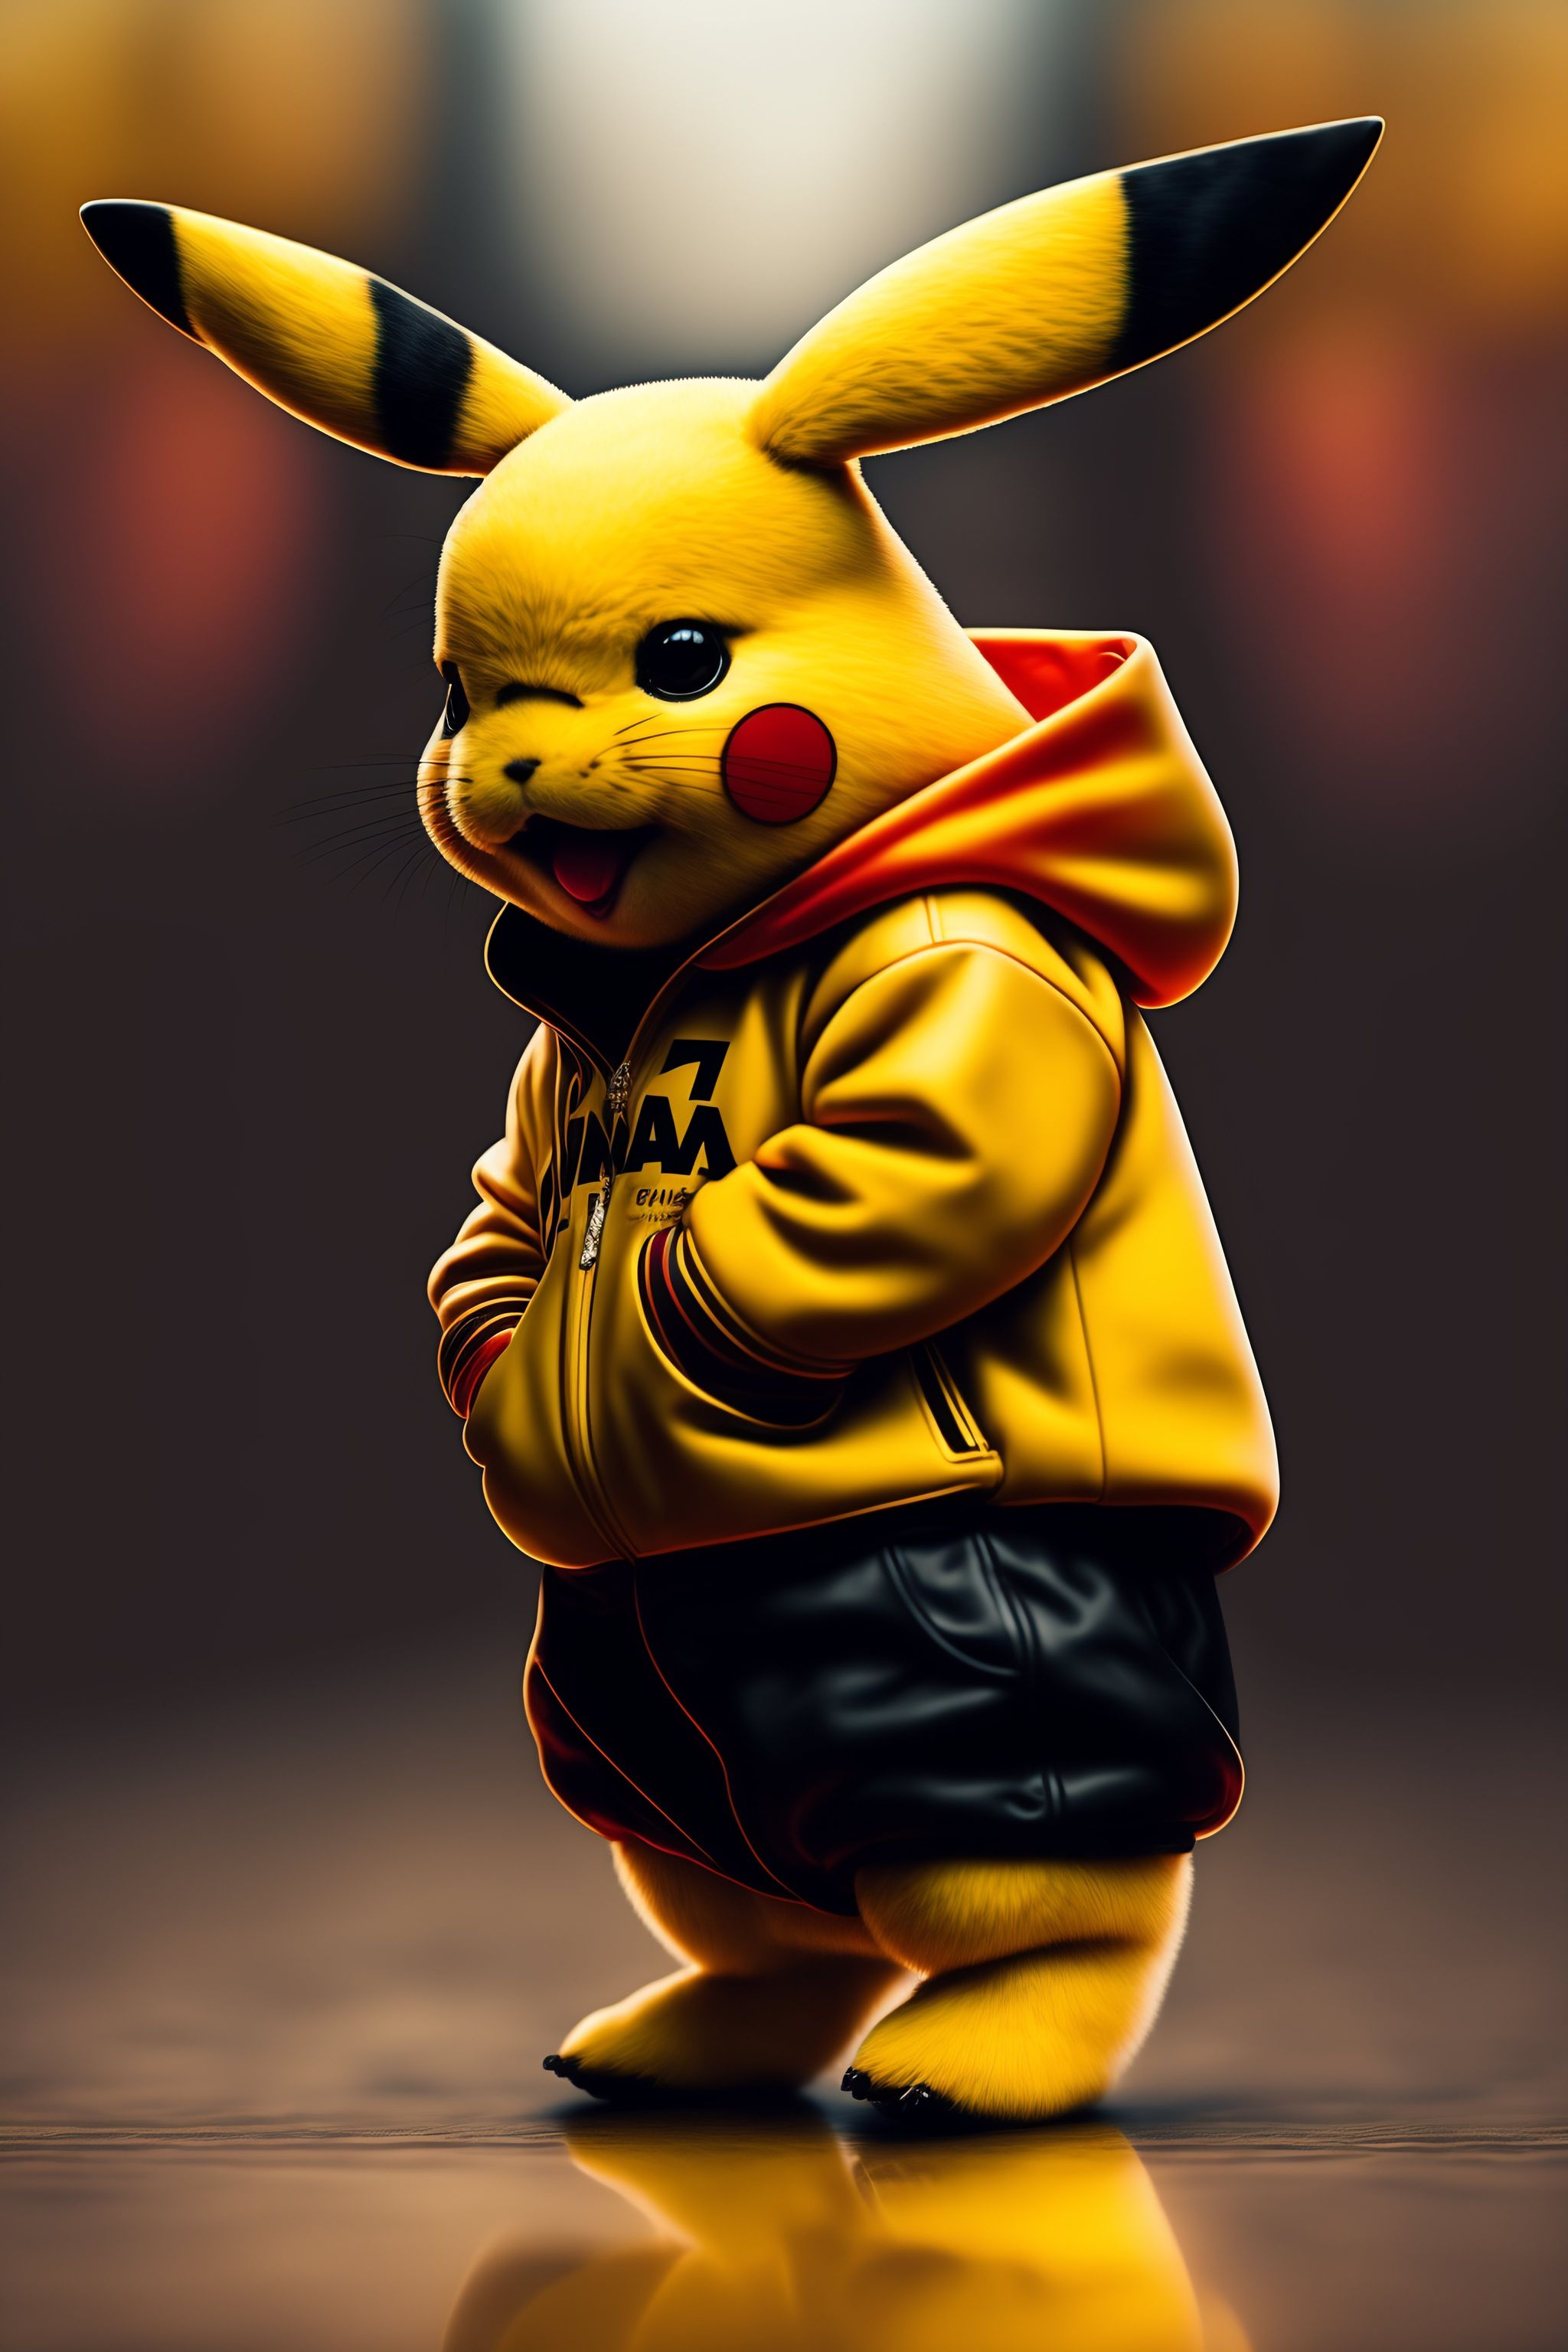 |
 |
 |
总结
通过上面的对比,我们可以看出,SDXL 1.0 模型比 SD v2 模型在色彩、对比度方面好了很多,更加高清真实,尤其是基于 SDXL 1.0 模型精化的 Refiner 1.0模型,图像更加清晰真实。如果希望在 SDXL 1.0 模型(以及 Refiner 1.0 模型)和 SD v2 模型基础上生成更高质量的图像,需要更加深度去了解这两个模型,通过精细的微调以及提示词的精心设计,有可能达到目标,比如上面我们看到的使用 Lexica Aperture 设计的艺术图像,我相信通过努力也能够使图像达到类似的艺术效果。
参考资料