ShadowDOM 中样式隔离和继承
该渲染由 Shiro API 生成,可能存在排版问题,最佳体验请前往:https://innei.in/posts/tech/ShadowDOM-style-isolation-and-inheritance
如果你了解 Web Component 那么你一定知道 Shadow DOM,Shadow DOM 是用于创建一个与外部隔离的 DOM Tree,在微前端中比较常见,可以在内部定义任何样式也不会污染外部的样式,但是也因为这个特征导致 Shadow DOM 中也不会继承任何外部样式。假如你使用 TailwindCSS 或者其他组件库自带的样式,在 Shadow DOM 中被应用。
例子
我们先来创建一个简单的 TailwindCSS 的单页应用。
// Create a shadow DOM tree and define a custom element
class MyCustomElement extends HTMLElement {
  constructor() {
    super()
    // Attach a shadow DOM to the custom element
    const shadow = this.attachShadow({ mode: 'open' })

    // Create some content for the shadow DOM
    const wrapper = document.createElement('div')
    wrapper.setAttribute('class', 'text-2xl bg-primary text-white p-4')
    wrapper.textContent = 'I am in the Shadow DOM tree.'

    // Append the content to the shadow DOM
    shadow.append(wrapper)
  }
}

// Define the custom element
customElements.define('my-custom-element', MyCustomElement)

export const Component = () => {
  return (
    <>
      <p className="text-2xl bg-primary text-white p-4">
        I'm in the Root DOM tree.
      </p>
      <my-custom-element />
    </>
  )
}
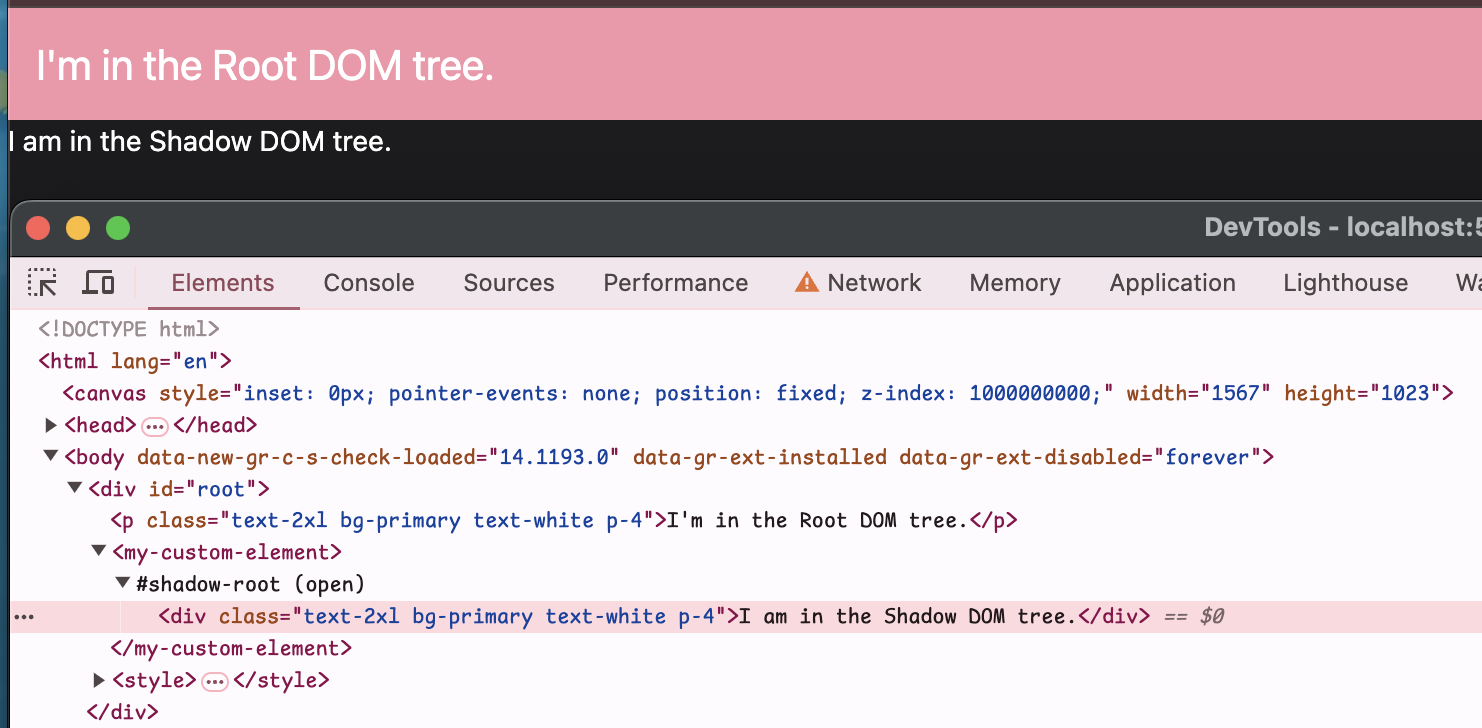
上面的代码运行结果如下:

上面一个元素位于 Host(Root) DOM 中,TailwindCSS 的样式正确应用,但是在 ShadowRoot 中的元素无法应用样式,仍然是浏览器的默认样式。
方案
我们知道打包器会把 CSS 样式注入到 document.head 中,那么我们只要把这些标签提取出来同样注入到 ShadowRoot 中去就行了。
那么如何实现呢。
以 React 为例,其他框架也是同理。
在 React 中使用 Shadow DOM 可以借助 react-shadow 以提升 DX。
npm i react-shadow上面的代码可以修改为:
import root from 'react-shadow'

export const Component = () => {
  return (
    <>
      <p className="text-2xl bg-primary text-white p-4">
        I'm in the Root DOM tree.
      </p>
      <root.div>
        <p className="text-2xl bg-primary text-white p-4">
          I'm in the Shadow DOM tree.
        </p>
      </root.div>
    </>
  )
}
现在依然是没有样式的,接着我们注入宿主样式。
import type { ReactNode } from 'react'
import { createElement, useState } from 'react'
import root from 'react-shadow'

const cloneStylesElement = () => {
  const $styles = document.head.querySelectorAll('style').values()
  const reactNodes = [] as ReactNode[]
  let i = 0
  for (const style of $styles) {
    const key = `style-${i++}`
    reactNodes.push(
      createElement('style', {
        key,
        dangerouslySetInnerHTML: { __html: style.innerHTML },
      }),
    )
  }

  document.head.querySelectorAll('link[rel=stylesheet]').forEach((link) => {
    const key = `link-${i++}`
    reactNodes.push(
      createElement('link', {
        key,
        rel: 'stylesheet',
        href: link.getAttribute('href'),
        crossOrigin: link.getAttribute('crossorigin'),
      }),
    )
  })

  return reactNodes
}
export const Component = () => {
  const [stylesElements] = useState<ReactNode[]>(cloneStylesElement)
  return (
    <>
      <p className="text-2xl bg-primary text-white p-4">
        I'm in the Root DOM tree.
      </p>
      <root.div>
        <head>{stylesElements}</head>
        <p className="text-2xl bg-primary text-white p-4">
          I'm in the Shadow DOM tree.
        </p>
      </root.div>
    </>
  )
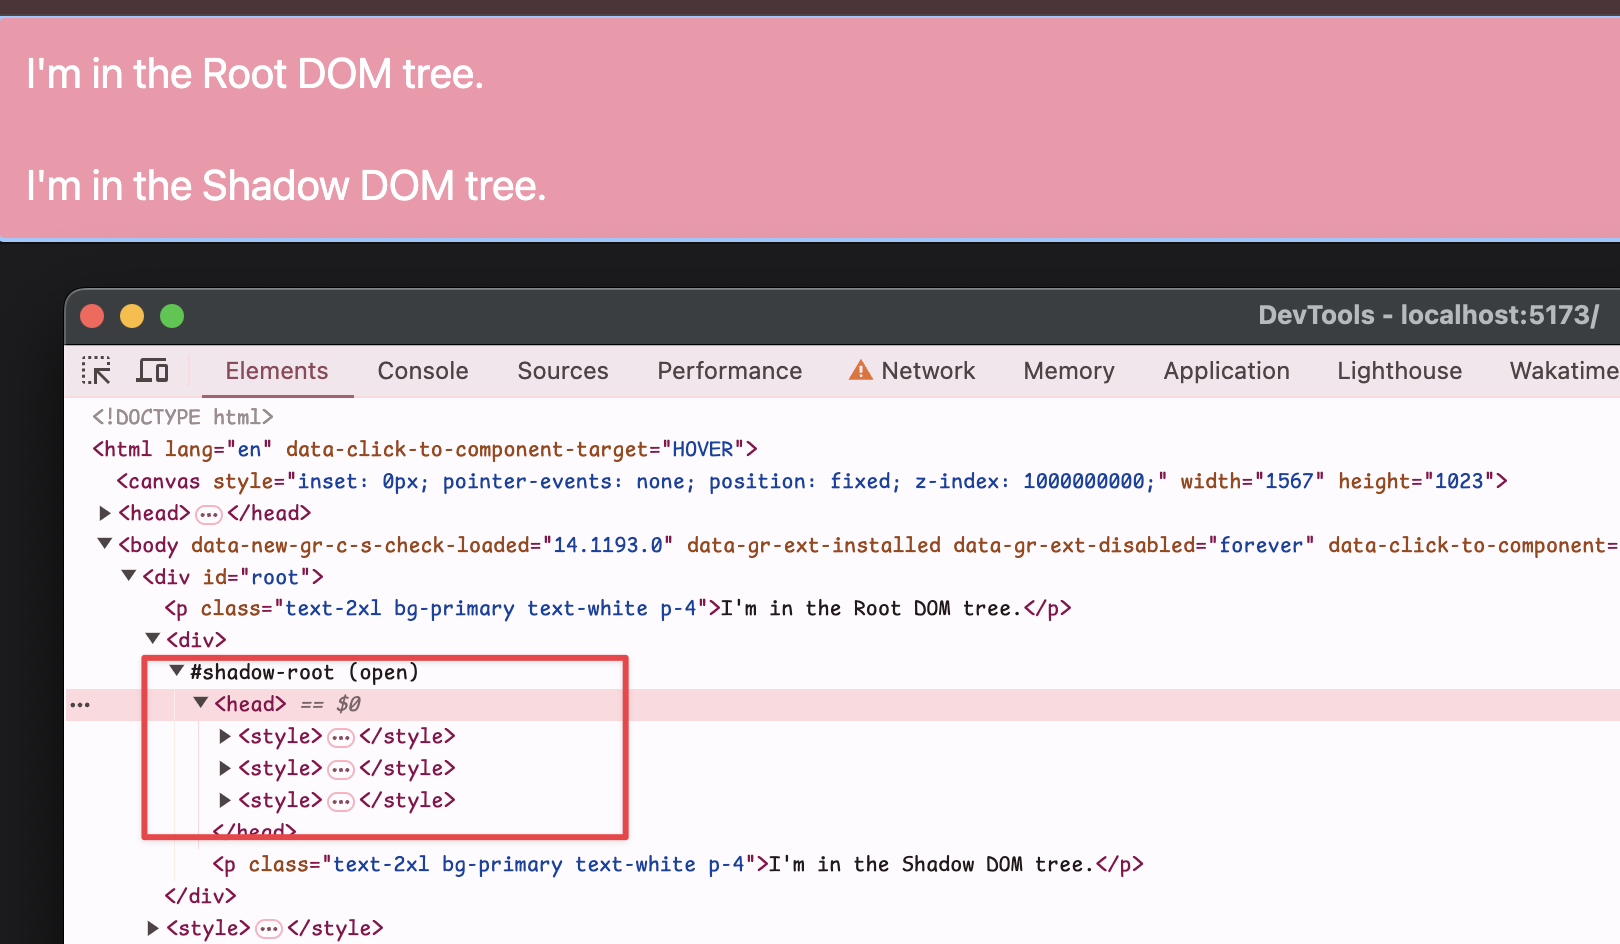
}
现在样式就成功注入了。可以看到 ShadowDOM 中已经继承了宿主的样式。
宿主样式响应式更新
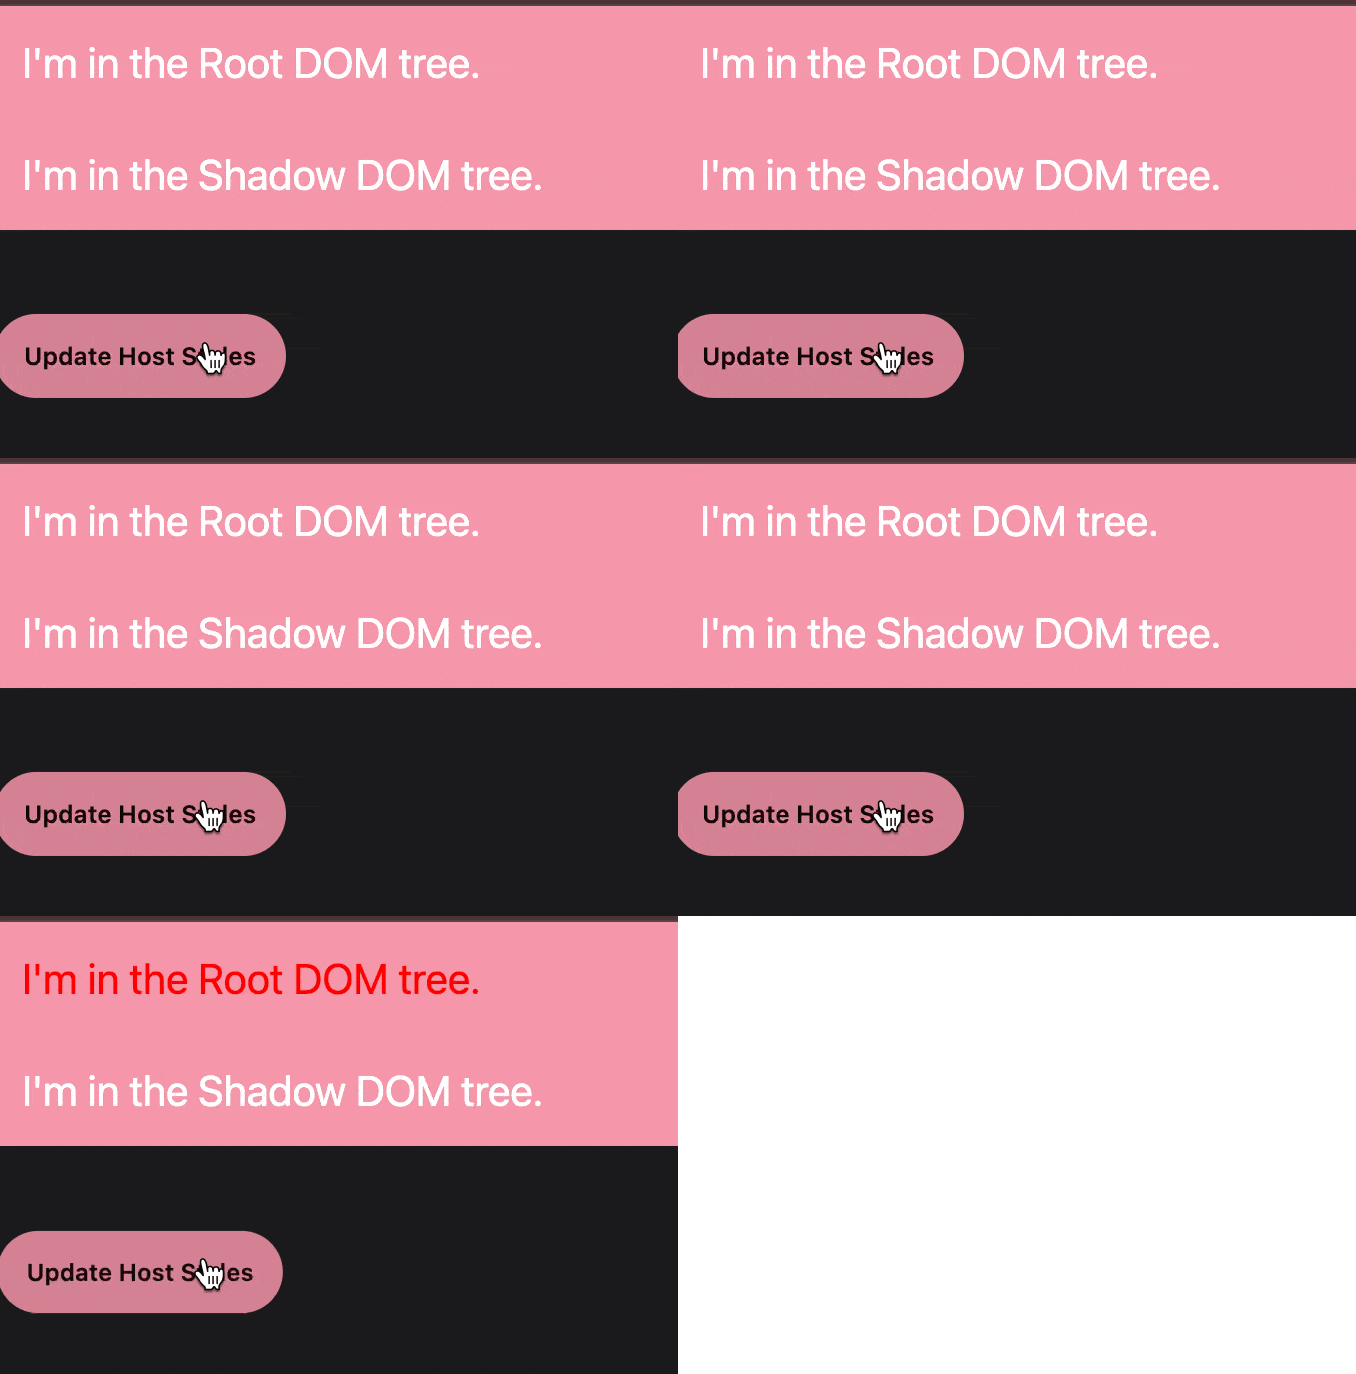
现在的方式注入样式,如果宿主的样式发生了改变,ShadowDOM 的样式并不会发生任何更新。
比如我加了一个 Button,点击后新增一个样式。
<button
  className="btn btn-primary mt-12"
  onClick={() => {
    const $style = document.createElement('style')
    $style.innerHTML = `p { color: red !important; }`
    document.head.append($style)
  }}
>
  Update Host Styles
</button>
可以看到 ShadowDOM 没有样式更新。
我们可以利用 MutationObserver 去观察 <head /> 的更新。
export const Component = () => {
  useLayoutEffect(() => {
    const mutationObserver = new MutationObserver(() => {
      setStylesElements(cloneStylesElement())
    })
    mutationObserver.observe(document.head, {
      childList: true,
      subtree: true,
    })

    return () => {
      mutationObserver.disconnect()
    }
  }, [])

  // ..
}
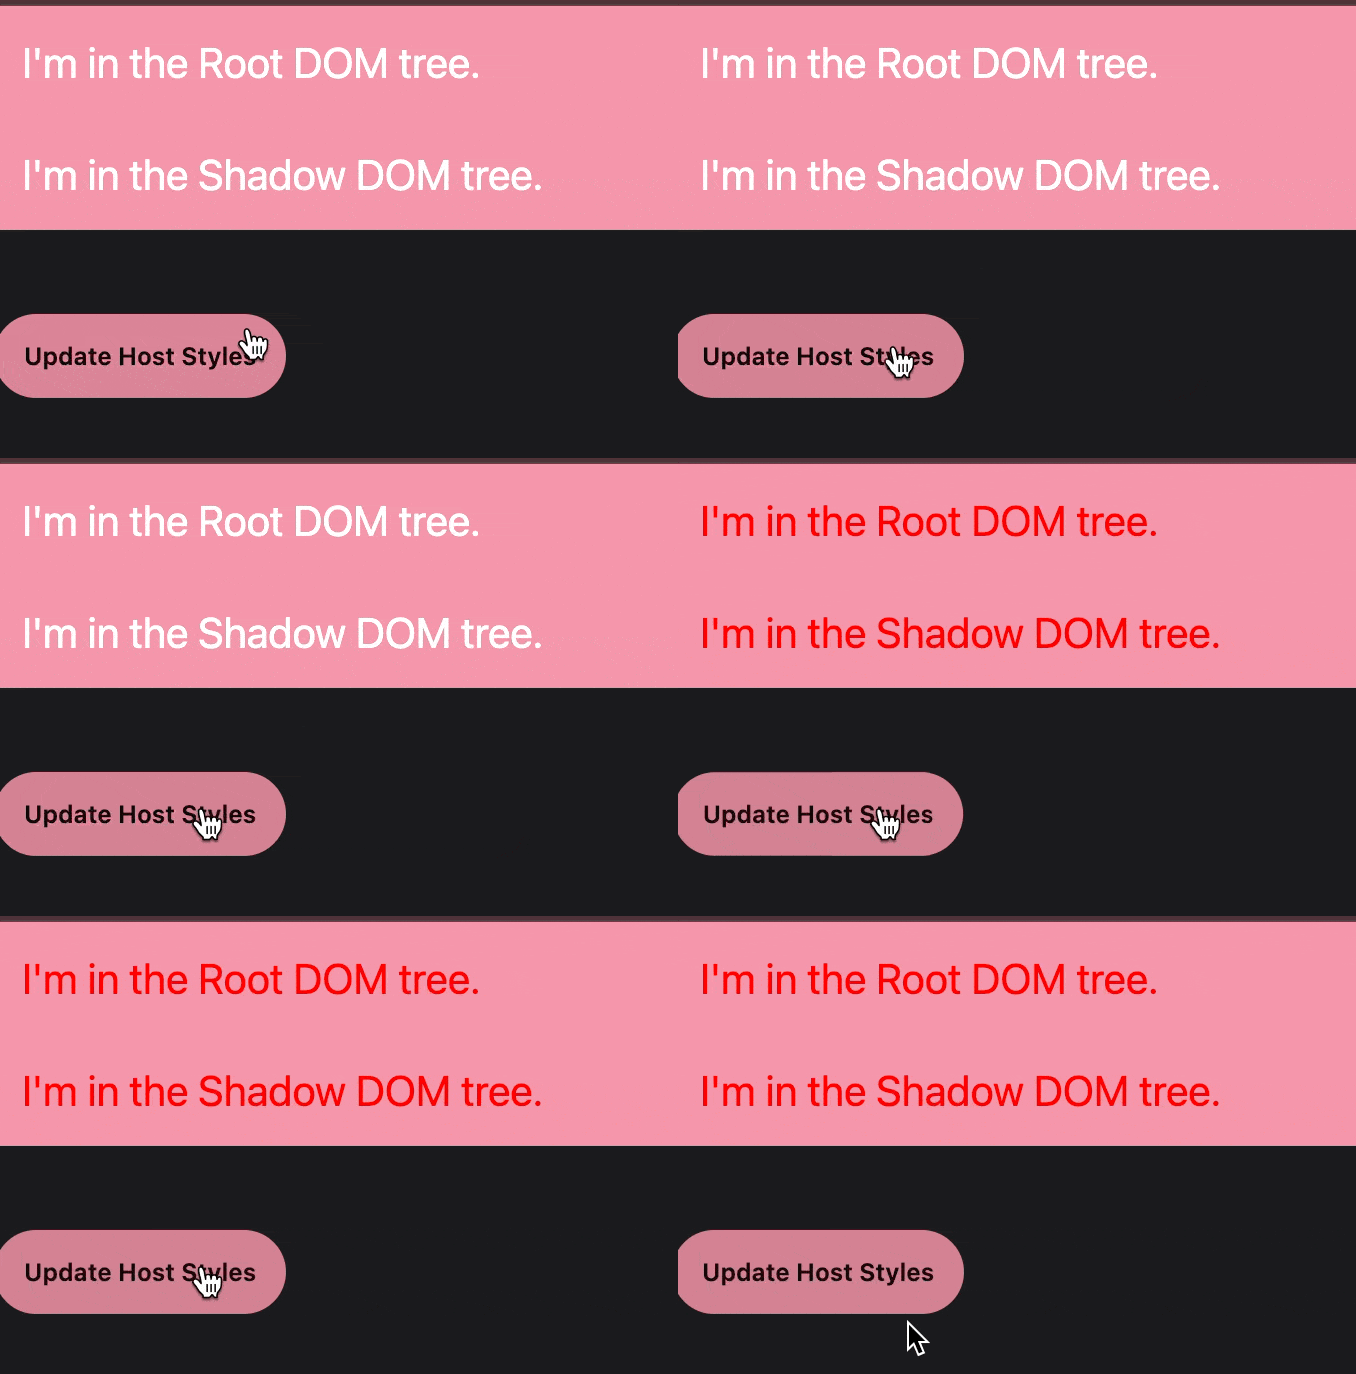
效果如下:

问题解决。
后记
既然是这样,那么你为什么还要用 ShadowDOM 呢。因为在 ShadowDOM 你可以注入任何污染全局的样式都不会影响宿主的样式。
这个方案其实很简单,在任何框架中甚至原生都是适用的,这个本身就是一个原生的解决方案,不依赖任何框架。
而我只想说的是,不要被现代前端各式各样的工具链,插件让思维禁锢了,遇到一点点问题就想从框架出发或者插件,殊不知这只是个普通的 DOM 操作而已,所以就有了笑话,现在的前端开发连写个 jQuery 的 DOM 遍历都不知道了。